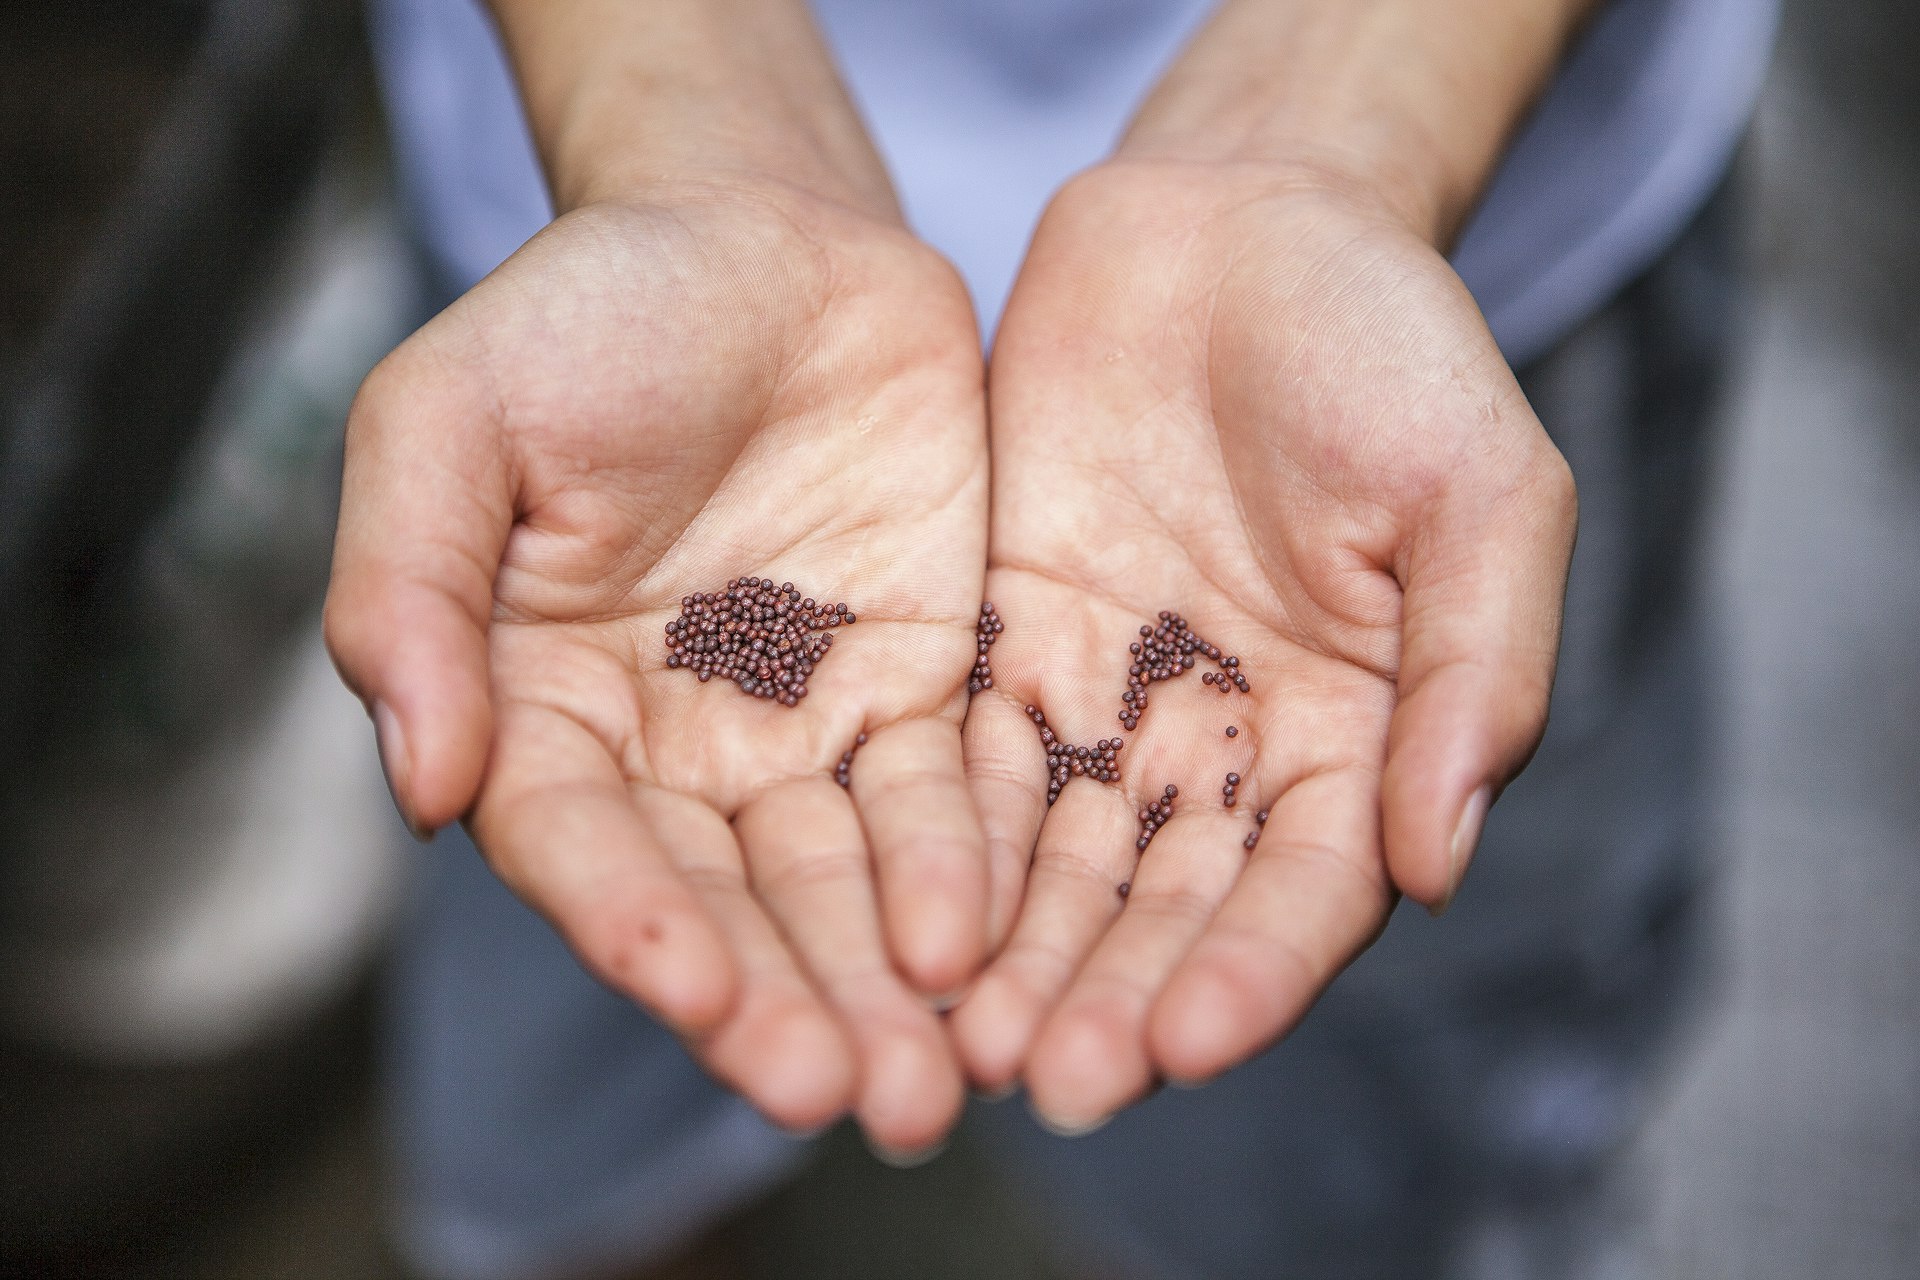
Saving and using local seeds is one of the most important methods for strengthening agriculture and increasing plant diversity.
Why? Because:
• It is inexpensive and easy to do, anyone can collect and save seeds • It will increase the amount and range of foods that can be grown
• Seeds are valuable, they can be exchanged with other seeds or sold through a community seed bank
• Plant quality will naturally improve from year to year
Local seeds are adapted to local conditions. As these seeds grow in the local climate and soils, they become stronger. For example, if someone from Indonesia goes to live in England, it will take a long time for him / her to adapt to the cold climate, the people, language and culture. It is the same with seeds and plants. The plants which grow healthiest and strongest are the plants that can become the seed source.
Pollination

Pollination is a process a plant uses to produce fruits and seeds.
During pollination, the pollen from the male part of a plant fertilizes the female part of a plant. This pollination process usually happens in a plants flower. Once the female part of plant is pollinated, the plant will produce fruit and / or seed. Different pollination techniques are used by different types of plants, for example:
1. Beans, lettuce, tomato, cabbage and chilli are all plants which have male and female parts inside the same flower
2. Pumpkin, melon, cucumber and corn are plants which have male and female parts separate, on the same plant. These plants need insects, wind, or human hands to fertilize
3. Papaya and salak are plants which have separate male and female plants, these plants need more than one plant to fertilize
SMART IDEAS!
The more insects there are in the garden, the more pollination will happen. Flowers, food, plant diversity and ponds will attract insects to your garden.
Cross Pollination
Cross pollination is pollination that happens between plants, where the pollen from the male part of a plant pollinates the female flower of another plant. This process can happen naturally or it can be induced.
Cross pollination of different types of plants happens when two types of closely related plants pollinate each other, for example: Two different types of green leaf vegetables, two different types of corn, or a pumpkin plant and a squash plant. If this happens, the seed that is produced may be good, but more often the seed will be weaker than the parent plants, or may not grow at all when planted. Therefore, it is best to avoid cross pollination happening.
A few techniques for reducing the chance of different types of plants cross pollinating:
- Plant one type of crop each planting season. For example, one type of corn or one type of eggplant
- Green leaf vegetables, lettuce and cabbage flower at the end of their life. Let only one type of green vegetable, one type of lettuce, or one type of cabbage reach the stage to flower and produce seeds.
If different types of plants are further apart, and many other plants are planted in between them, the chances of cross pollination are reduced
• Hand pollination, such as of pumpkins, melons, luffa and cucumber will allow you to choose the type of seed which will be produced
You can use induced cross pollination to try and create a new type of plant. But be careful, the results could be something unknown, which could either grow well or not at all.
Some types of plants have both male flowers and female flowers. The female flowers have a small fruit below them.
In the afternoon, choose a male and female flower that are just about to open. Tie them, so that insects or bees cannot enter.
The next morning, open the flowers. Carefully pick the male flower, pull off the petals, and rub the pollen covered middle (stamen) inside the female flower. Again, tie the female flower.
When the fruit starts forming, tie a piece of string or material around the base of the fruit as identification.
Repeat this process on other female flowers, but use male flowers from different plants of the same type, to help keep seed quality and diversity.
Seed Saving
By saving and storing seeds well, you will have disease free, good quality seeds that can be planted from season to season.
Producing Good Seeds
To produce good seeds follow these steps:
Step 1: Healthy Plants
To produce quality seeds, the first step is to grow healthy plants. To do this you will need healthy soil, and enough compost and mulch.

Step 2: Choose the Best Seed
Always collect seeds from the best plants. These plants usually:
Produce healthy and tasty fruits or leaves
Are disease free and naturally pest resistant
Are able to survive in extreme conditions. For example, are able to handle very dry or hot conditions, or can still grow well in rocky soils
Are slow at producing seeds. Collect seeds from plants that produce flowers and seeds last, not first
Select seeds from many plants. If you are growing trees, for example teak trees, collect seeds from many different teak trees. It is the same with all other plants. When collecting seeds, remember that you will pass on the plants characteristics to the next crop. If you choose healthy plants, the next crop will have the same characteristics as the parent plants.
Larger seeds will generally last longer than small seeds!
Step 3: How to Harvest Seeds
Label the plants that seeds will be collected from, so that these plants won’t be harvested for food. Wait until the plants are ripe to pick the seeds. This means leaving the plant until it is past the edible stage. Young fruits have young seeds, which may not germinate. The best time to pick seeds is mid-morning, on a clear and sunny day. If harvesting seeds in the wet season, you can pick the fruit, seed, or even better the whole plant, and hang it to dry near a fire. Even a small amount of moisture can damage seeds.
Step 4: Cleaning Seeds
Separate seeds that have a dry pod or shell and remove them by hand. Small seeds with a shell can be kept in a bag, which can be gently rolled and carefully crushed to separate the seeds. Separate any plant materials from the seeds by winnowing or by hand.
Tomato, cucumber and pumpkin seeds can be removed and placed in a container with water. The seeds must be cleaned well and rinsed, so that all the plant flesh is removed from the seed. The seeds can then be dried.
Tomato and cucumber seeds can be fermented to remove some diseases. Remove some seeds and flesh from a ripe fruit. Place in container with water, leave for a few days. Foam will form on the surface showing that fermentation has happened. The seeds can then be washed with water. All remaining fruit flesh should be removed. Spread the seeds onto a plastic, wood or metal plate, and put them in the shade to dry out with the help of the wind.
Step 5: Drying Seeds
Drying seeds is a very important part of the seed saving process. If the seeds are not dried properly, they will go rotten when stored. The seeds can be dried anyway you choose. However, to achieve the best results, it is very important that you follow these practical guidelines:
Spread the seeds and air out. Shallow bowls, woven trays, old paper, woven mats or any other container can be used to hold the seeds. For larger seeds, place in woven bags and hang to dry. Turn them once or twice a day so that all the seeds can dry
Protect the seeds from animals, especially mice
For small and light seeds, give extra protection from the wind because they can easily be blow away
Small seeds generally need about 1 week to dry properly, and larger seeds need about 1-2 weeks to dry properly
Start the drying process for two days in shade or inside. After, move the seeds out into the sun for half of each day. This will help to kill insects and their eggs. Move the seeds inside at night. In the wet season, it is better to dry seeds near a fire
Use a bite test to check if the seeds are dry or not. Bite a seed slowly. If the seed is hard and does not have a bite mark, than it is ready to be stored. If there is a bite mark, then the seed is not yet completely dry and needs to be dried for longer. If you tooth breaks when biting the seed, then next time you bite test seeds, don’t bite so hard!
Step 6: Storing Seeds
After the seeds are dry, they need to be stored well. If the climate is not ideal, seeds may easily rot if not stored correctly.
When in storage, seeds must be protected from:
- Air, which reduces the seeds lifetime
- Moisture, which can make seeds rot
- Heat, which can reduce the number of seeds that will grow when planted
- Animals, which can damage seeds
- Insects, which can eat or damage seeds. If insect eggs are laid inside the seed storage container, they will hatch and young insects will eat the seeds
- Light, which can also damage seeds
To avoid these problems, make sure the seeds are really dry and clean. Then, on a dry and sunny day, place the seeds in an air proof container.
To reduce moisture problems, add wood ash to the bottom of the container (of course, wood ash which has already cooled). Milk powder or other very dry seeds can be used as a substitute to absorb excess moisture.
Reducing Insect Problems
The most common problems of insect damage to seeds can be avoided by using the following simple methods.
• Wood ash. Coat the seeds lightly in wood ash, and add more ash to the top and bottom of the seed storage container. Don’t use ash from rubbish fires
• Neem. Add a 1 cm layer of neem leaves at the bottom and top of the seed storage container. Bay leaves or guava leaves may also be used
• Tobacco. Only use old and dry tobacco. Add a 1 cm layer of tobacco at the bottom and top of the seeds
• Gamal. Add a 1 cm layer of gamal leaves at the bottom and top of the seeds
• Cold temperatures. In places where it gets very cold at night, place the seed container outside every night for one week. Bring the container inside again every morning. This will kill insects such as weevils (a small white grub / worm)
• Salt. A small amount of salt mixed in with the seeds will also help to control pest problems
• Smoke. Smoke is a preservative and pest repellent. You can hang corn, seed pods and even whole plants above a fire to dry, and at the same time this will provide protection from pests
• Oil. Larger seeds can be coated with coconut oil to kill insect eggs. Pour a little coconut oil into a large container, add the seeds, cover the container and shake until all the seeds are coated in coconut oil. Small seeds cannot be treated in this way
Community Seed Saving Group
Creating a community seed saving group is a great way to share excess seeds and increase seed variety for every group member. Within this group, members can also buy, sell, or trade seeds to introduce new plant varieties.
A community seed saving group is like a seed and planting material bank. The group collects and stores the best seeds and planting materials. These seeds are stored for the future, to grow, to trade, or to sell.
The whole process of saving seeds and distributing them will be much easier by working within a group.
1. Seed Exchange
Excess seeds can be exchanged with other people or groups. This will support increased plant variety for every person.
2. Seed and Plant Selection
Collect seeds from the healthiest, most disease resistant plants or from plants within the community. Generally, only 5-10% of community crops need to be left for seed collection. Members who grow plants for seed collection can be given compensation by selling or trading those seeds within the group.
Besides keeping group seed stock, it is important to find out how plants grow well. For example, suitable plant varieties, pest predators, amount of water and sunlight needed, and so on.
3. Seed Collection and Drying
The task of collecting and drying seeds is easier and quicker if it is done with the support of the whole group.
4. Seed Drying Room
A seed drying room is a room where most of the seeds are dried, especially during the wet season. This room must protect seeds from rain and can use smoke or heat to dry seeds. Give special attention to the room temperature and make sure the room has good enough ventilation.
5. Seed Storage

A large community room or an agreed place can be used to store seed. Compiling containers for large amounts of seed is much easier and less expensive if done through a community group.
Permanent seed containers or silos can be ordered or made, and can be used to fulfil the needs of the whole group.
6. Seed Supply
A large community room or an agreed place can be used to store seed. Compiling containers for large amounts of seed is much easier and less expensive if done through a community group.
Permanent seed containers or silos can be ordered or made, and can be used to fulfil the needs of the whole group.
All seeds that are saved by the group should be used wisely.
The seeds should be distributed evenly among the group members so that every member has enough seed for their own land. Every member that who receives seeds must give something in return to the group. This could be seed products, labour, manure, compost, land, storage containers, and so on.
If there is excess seed, some can be kept in case of seed shortages during the next season. If possible, always save enough seed for one more crop season.
7. Seed Garden
A community seed garden can be made specifically for producing seeds. This garden will provide high quality seeds, because the seeds are taken from the best plants, and it will make it easier to reduce chances of cross pollination.
Seed and Planting Material List
A list will help group members know what materials the group has available. What is available could be seeds, plants, and planting materials. This list also provides information for people outside of the group who are interested in buying or trading. Other benefits of having this list include:
• It helps to identify the best place to grow each type of plant
• To identify the differences in types of plants
• It can be combined with other plant lists to form a district or national plant list
• It helps to assess what the community can produce and what needs to be introduced • It helps to keep local plant varieties in the ownership of the community
If there are two or more types of the same plant, for example tomato, write these separately as two different plants with different names, for example round red tomato and bell shaped yellow tomato. This is because different types will have different amounts of produce, different disease and insect resistance, different time of fruiting, and even different eating quality.
The list includes:
a. Plant name: Local name, botanical or Latin name (if possible)
b. Description: Plant description
c. Plant size / shape
d. Time of fruiting: How long after planting the seed will the plant produce fruit or leaves e. Consumption quality: Is the plant considered good to eat
f. Susceptibility: What insects or diseases often harm the plant
g. Uses: What are the plants uses, for example as medicine, building material, etc
9. Seed Testing
Seeds can be tested to find out how many will grow.
When testing seeds for personal use, place the seeds in a container of water. The seeds that sink are the good ones to be planted, the seeds that float are the bad ones and should be thrown out. Usually, almost all of the seeds will sink.
For seeds that will be sold or exchanged, it is better to test them first to find out what percentage of the seeds will germinate and grow. This viability rate can then be written on the packets. There are a few methods to test this, one is to count a number of seeds (for example, 50 bean seeds), then plant those seeds and count how many grow (for example, only 40 seeds grew). Divide the amount of seeds that grew by the amount of seeds that were planted to find the percentage of beans that grow (40 : 50 = 0.8). This number is then multiplied by 100% (so the result is 80%). So, the viability rate of these seeds is 80%.
When conducting this test it is important to make sure the soil mixture used is of the best quality. Take good care of the seeds and protect them from pests, such as snails and ants. The test must continue until the seeds have passed the germination phase. The seedlings can then be planted in the ground.
10. Exchanging and Selling Seeds
The seeds can be packaged to exchange or sell within the community, or between other groups and towns. Selling or trading seeds requires a consistent supply of seed. Planting materials can also be exchanged, sold or bought. Make sure to test products before selling them, to ensure that all products are high quality.
11. Community Nursery
A community nursery should be made to support the common needs of the community group.

Source : Permaculture, Solutions for Sustainable lifestyles