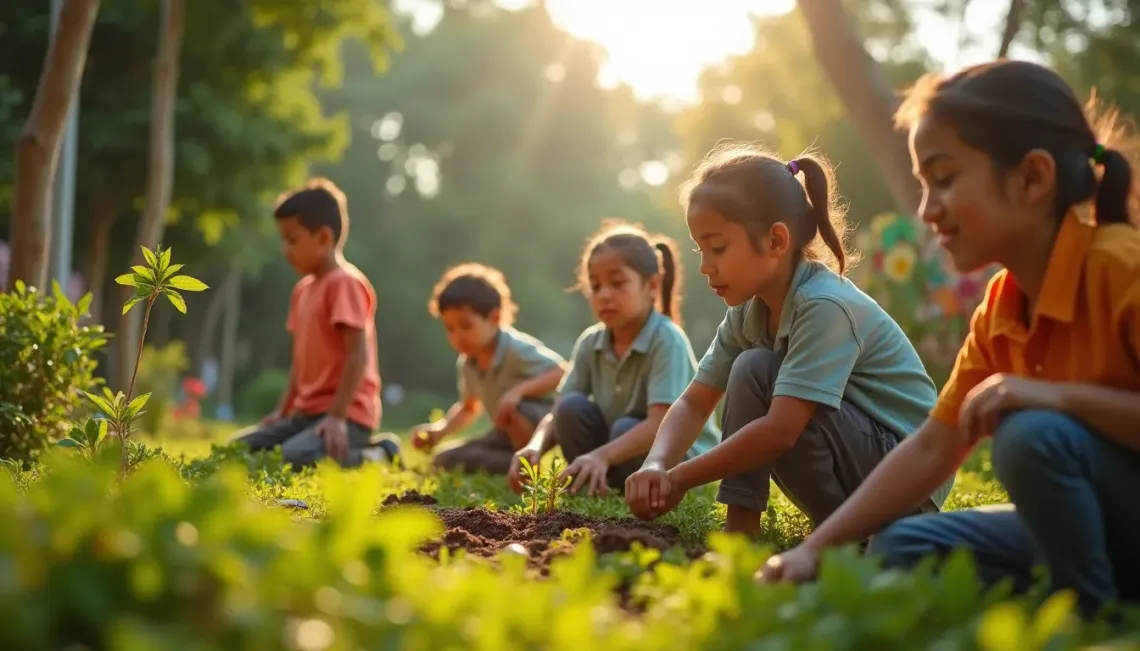
Compost is made up of decomposed organic matter, which is a concentrated rich nutrient source. The main ingredient is carbon and a small amount of nitrogen, as well as other nutrients, minerals and soil biota.
Compost doesn’t just provide nutrients for vegetable and fruit plants, but it also improves the soil quality. There are many ways to make compost, from simple mixtures of rice husks and cow manure, to ones that are made from a variety of materials. Use available materials, and experiment for yourself.
Making Quick Compost Heaps
- A compost heap will work well if it is made all at once. This means all the materials are collected, and then the compost heap is made layer by layer
- A compost heap should be about 1 m wide, 1 m long, and 1 m high to create enough heat to decompose well
- You can use many different materials, such as: Animal manures, grass, weeds, water plants, leaves, seaweed, soil, rice and coffee husks, sawdust, animal carcasses (mice, fish, chickens and so on), urine, small bits of paper which can be broken down, and other natural materials which can be easily found
- Try to combine about 1/3 manure, 1/3 dry leaves, 1/3 coffee husks, rice husks or sawdust. These amounts do not have to be exact, just estimate
- Use a small amount of bird manure (pigeon, chicken or duck), or a larger amount of animal manure
- These materials should be in layers, 5-10 cm thick. The first layer of organic plant material (dry leaves, husks and other dry materials) is 10 cm thick. The second layer is of decomposed animal manure. The third layer is a little kitchen ash and healthy soil. Then add some water. Repeat these steps until the heap is 1 m high, 1 m wide, and 1 m long
- Add water twice during the process of making compost. First, add about 2-3 buckets of water during the beginning process, than add 2-3 buckets more when the compost heap is already finished. Water is very important for the composting process, but not too much. The compost should be moist, but not wet
- Cover the compost to protect it from rain and direct sunlight, and keep it somewhere safe from animals, this will also help to keep the heat in the compost. This cover can be made of palm fronds, an old tarpaulin, banana skins or leaves, or a thick layer of leaves. If possible, have this cover ready for the wet season to prevent rain from entering
- If all these steps are followed, the compost will become very hot (around 65°-68° C), because of bacteria activity in decomposing. This temperature will cool down again to around 45° C after 2-3 weeks
- The compost now needs to be turned inside out, because the outer layer is not receiving enough heat and will not be as composted as the inner layer. After the compost is turned, add 2 more buckets of water, but only if needed, then return the compost cover. The compost heap will then reheat and be ready for use in 2 weeks
- Now the compost is ready to be used in the garden. Use 2 handfuls for every seedling, and 4 handfuls for every mature plant. It is even better to cover the entire garden area with a layer of compost, about 3-5 cm thick will work well
- How to Use Compost -
Making Slow Compost Heaps
Slow compost can be made from only 2 or 3 types of material, but you need the balance the amount of manure with plant materials. A good mixture is about 1/3 manure with 2/3 plant materials. Slow compost will take about 2-3 months before it is ready to be used. This type of compost is not as nutrient rich, but it is still good enough to improve soil condition.
- Start to make a new compost heap when the old compost heap is already half used up. This will ensure a continuous supply of compost
- Use compost on plots 2 weeks before planting vegetable seedlings or directly planting seeds, such as corn, beans, eggplant and so on, to allow the nutrients and compost soak into the soil. Wait 2 weeks after planting before adding more compost
- The best place to use compost for trees is directly under the outer layer of leaves (on the ground of the tree’s outer crown, not around the tree trunk). This place is around the bottom of the tree’s outside leaves, and it is where the tree’s roots feed from most. Don’t compost around the tree trunk, because this could cause the trunk to rot. This is true for all types of fertilizers
SMART IDEAS!
If the compost doesn’t smell good or smells very sour, this means that too much manure was used. If the plant materials are not decomposed enough, this means that too little manure was used.
Making Compost Baskets and Trenches
Information taken from Faith Garden Manual, written by Mindanao Baptist Rural Life Center, Bansalan, Philippines.
Step 1: Dig holes in the middle of the garden plot, about 1 hand length deep (15-20 cm), and 3 hand lengths wide, leave 1 meter in between each hole (about 1 large step). Otherwise, the trench can be dug lengthwise in the middle of the garden plot, about 1 hand length deep, and 2 hand lengths wide.
Step 2: Place bamboo sticks around the edges of the holes or trench. These sticks should be about 1 hand length apart and 2 hand lengths above ground.
Step 3: Make a fence of woven bamboo / leaves through the sticks.
Step 4: Put into the holes or trench in order:
- A thin layer (about 5 cm) of small branches or dry grass to provide air
- Different types of manure
- Grasses, weeds, leaves, and washed seaweed
- Add 1 handful of kitchen ash to each hole, or per meter of the trench
Step 5: As the old compost materials decompose, add new materials, in the same layers as before. The compost does not need to be turned.
Step 6: Plant seeds when the compost at the very bottom begins to decompose. Leave about 1 hands length in between the seed and the compost basket or trench.
Step 7: Water the plants regularly for 2 weeks after planting. Then you can water the compost basket or trench directly, not the plants. The plant roots will grow into the hole or trench. This will improve plant growth and save water.
Step 8: When the plants are harvested, the compost from the baskets and trench can be shoveled out and used on the garden plots to add humus to the soil. After this, new compost materials can be added to the basket hole or trench in preparation for the next planting.
SMART IDEAS!
This technique can also be used for young fruit trees
Make the compost baskets or trench one month before planting
Swales can be used as compost trenches for sloped land
To allow continuous cropping, fill the baskets or trenches at different times, each plot can be filled 2 weeks to 1 month apart
The basket or trench sticks can be made higher to be used for growing vine plants, such as beans, cucumbers and other climbing vegetables
Compost Pits
A compost pit is a great way to supply plants with nutrients. Examples of plants that work well with this system are bananas and papayas. Materials for this compost uses anything available, such as: Leaves, weeds, manure, rice / coffee husks, and paper can all be added. Urine is also recommended. The compost that collects at the bottom of the pit can be dug up each year and used for plants.
Benefits of using compost pits:
• Deals with weed problems
• Uses excess water and organic wastes
• Stores more water in the soil and in the compost materials, so that less water use is needed for plants, especially in the dry season
Direct Composting
Compost can also be placed directly on top of the garden plots or land where the garden plots will be made. The soil underneath will receive the benefits of nutrients that are released, and this will increase the amount of soil biota.